I love taking pictures, it's one of my other most favorite hobbies...yes, I have a lot of favorite hobbies.
I have a wonderful hubby that bought me a fantastic new camera for my birthday this year, which has substantially increased my LOVE for taking pictures and photo editing.
I thought for today's post I would share some of my tips and tricks for taking fantastic pictures. I am no professional photographer, so please remember that these tips and tricks are just me playing around with my camera. The products featured on this blog post are some of my soaps and candles, and Hand Built leather accessories from
Huaracha Studios. (She is amazing)
Step One: A Light Box. I purchased 3 sheets of the thick poster board at my local Fred Meyer for 2.99 each, then cut each of them in half. Using four of the sheets, put together a box (a bottom, two sides, and a back) without a top or a front. I used duct tape to hold them together, but you could use whatever works. You could even use Velcro, and make the entire box collapsible if you wanted, mine is not. And now you have a simple light box. Tip #1: make sure when you assemble your box that you get the seams nice and tight so that no light can get in between the cracks, recruit a helper if you need to.
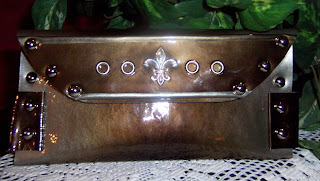
Step Two: Lighting. Lighting is crucial. Natural lighting is the best option for taking pictures. Going outside will give you the most bang for your buck. I take all of my pictures outside on a nice/but not too sunny day, early morning/or late afternoon. If you have some lamps (with natural light bulbs) I'm sure you could get amazing results inside...I just prefer to use natural light. If you are using lights, make sure you don't have any shadows, and that the light is not in your face bright. Tip # 2 you don't want it too bright, a really sunny day, or a light that's only 12" away from your product will make your pictures turn out harsh, we are going for a nice diffused soft light.
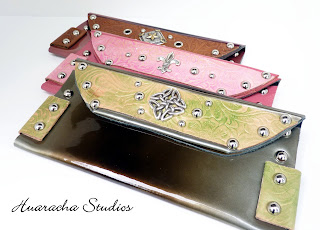
Picture above was taken inside with just household lamps to show you what it looks like. Plus she used the flash.....bad girl....see step 3.
The picture left was taken outside with natural light and no flash. See the difference.
Which brings us to Step Three: Staging/and taking pictures
#1 rule I use when taking pictures of products: Don't ever use the flash. Ever. I use the macro setting on my camera when taking pictures of products (the little flower) This allows you to focus on what you want, and blur the rest if you would like. Take your time, and take a ton of pictures from every angle possible. The beauty of digital...you can delete them later.
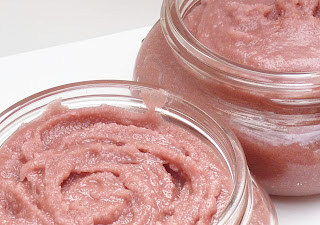
Get up close and personal on a few of the pictures, focus in on the different textures, and colors. When customers are shopping online...they don't get to feel it, smell it, or touch it. A great photograph can allow the customer to see the texture so well, they can imagine what it feels like to hold it or use it. The more pictures you have of different angles and depths...the more options you have to choose from.
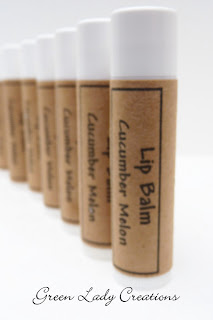
Staging...remember odd numbers look best. I like to keep it simple, but this is where it really gets to be all about your own personal style. Some people like to add props and bit of color to make a picture pop, or backdrops to add interest to your item. I like to keep it simple, and let the product shine through. Just like each handmade product has a little of the person who made it's personality crafted in to it, each picture has the photographers personality built right in. Do what feels right, and try out different things. Tip #3 don't delete a picture until you see it on your computer, sometimes they don't look good from the camera, but can be fixed in the photo editing process.
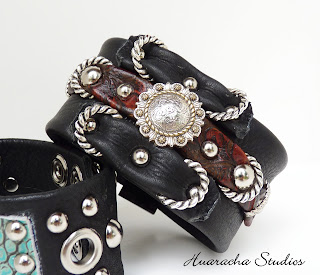
The photo on the Left was a terrible picture...the sun caught the conch on the left cuff and gave one heck of a glare. Because of my rule of no deleting....this picture came out as one of my favorites post edit. With a little cropping and touching up you can remove the parts that you don't like!
Step Four: Editing
One of the other most valuable assets is a great photo editing program. These days every new camera comes with a program, some are good, some not so much. Of course Photoshop is the best program out there (or so I've heard), but most of us small hobbyists don't have that kind of dough to fork out (at least I don't), so photoshop pro remains on my wish list along with the ipad, laptop, and new hardrive for my good old desk top. I received Arcsoft Media Impression with my new Panasonic DMC-FZ35 (btw..a great camera), it has proven to be a fantastic program. There are a few things that it does not do, and it is sometimes a little on the slow side, but it is a great all around program that is super easy to use.
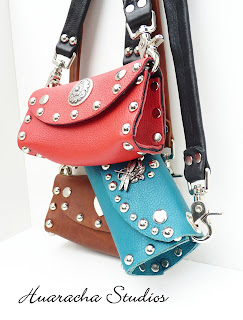
When editing I fiddle around with every single photo, yes even the blurry ones, I may be able to use it in some aspect, a close up perhaps. Now if after playing around for a while I still can't get it to look the way I want, well then I delete it, no sense keeping a crappy picture. I always begin my editing process with cropping the photo to get the shot I am looking for. Do I want it close up, or farther away, more detailed or less. Editing by far takes up the most amount of my time. Then I adjust the brightness and color aspects. More blue...more red..more light..and so on. Get it just the way you want it. Remember to SAVE. Add a watermark (if desired), and you've got a fantastic photo to showcase your fantastic products!
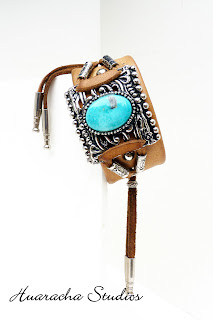
It's really a lot of fun to take pictures and edit them...well at least I think it is! But if you are reading this and thinking...wow that is just way to much work for me, well then there are a ton of highly talented photographers out there that would probably LOVE to take pictures of your products. Worried about the cost of professional pictures, well,do your homework, and talk to a variety photographers, see if you can work out a barter..goods for goods....or find yourself a new and upcoming hidden talent that wants to get their name out there, most of the time they are super affordable.
And of course if you have any questions at all you can shoot me an email at
greenladycreations@yahoo.com, or if you live in the Snohomish/Skagit county area in Washington State and are looking for someone to take product pictures, email me. I may be able to help you, or give you the name of a few fantastic photographers in your area!
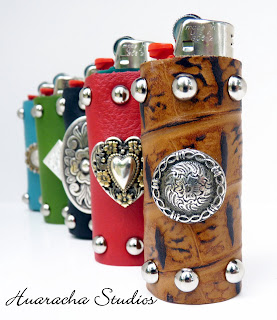
You are eyeballing all this beautiful leather...right...I know it's amazing. Check out Huaracha Studios online at
www.huarachastudios.com her stuff is simply fantastic, plus you can see a bunch of the other photos that I took of her amazing products.
As always, have a fantastic Day!!


